Fitting an AXA Defender lock
For a while I had been wanting to fit an AXA Defender lock to my bike, something that was always there and would provide a short term lock whilst I went into a shop.
Yes, I would use it in conjunction with other locks for longer term stops, but for visiting my local corner shop it'd be just fine. I’m willing to take the risk.
The lock also benefits (in the UK) by 'security through obscurity' - i.e. thieves don't see this lock very often. It isn’t truly adding security, but a thief will go for the thing that is easy and familiar, which is why using two different styles of lock can cause them to move onto the next target. That said, an ‘always available’ lock is so convenient that It's surprising to me that the style of lock isn't more widespread outside of areas like Germany and the Netherlands, but there it is.
I acquired the lock online (and the optional chain) with no problems, along with a mounting bracket. ( A ‘victory’ is also available)
When I bought the lock, it was primarily made for being mounted to bikes that have suitable mounting points on the frame.
Mine did not.
Fortunately, there was a solution.
It was possible to acquire a mounting plate for bikes with V-brakes and no dedicated mounting points - this bracket had to be sourced separately. I got mine by contacting AXA directly in the Netherlands. As of 2020, there is another mounting option called a ‘flex mount’ - I have not used this, but it looks straightforward - details of this are shown at the end of this page.
My Installation

The mounting bracket comes with bolts, washers and spacers - fortunately they're easy to sort out by size. I matched them all up before doing anything else and put them safe.

As I'd be fitting to the same mounts as the rear brake, I thought it best to remove the tension on those mounts, so I opened the rear brake by popping out the noodle (the noodle is where the cable emerges from the outer sheath).
This takes a bit of effort, but should be possible by squeezing the brake arms together.


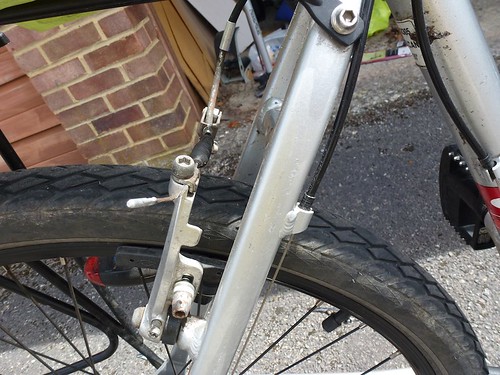
The next step was to remove the bolts holding the V-brake to the frame. In my case, the V-brake arms did not fall off - which was a relief, however, I was prepared for this and ready to catch the bits.

Next, I had to use the longer bolts supplied with the mounting bracket to re-secure the rear brake arms with the bracket alongside. The spacer goes between bracket and brake, the washer goes between bolt head and bracket.

This is a bit tight, and the brake pads are inside the mounting bracket. This might have been a problem if I ever have to pop the wheel off quickly - but for me, I was happy to pay the price of potentially having to loosen a brake block temporarily to change a tyre.

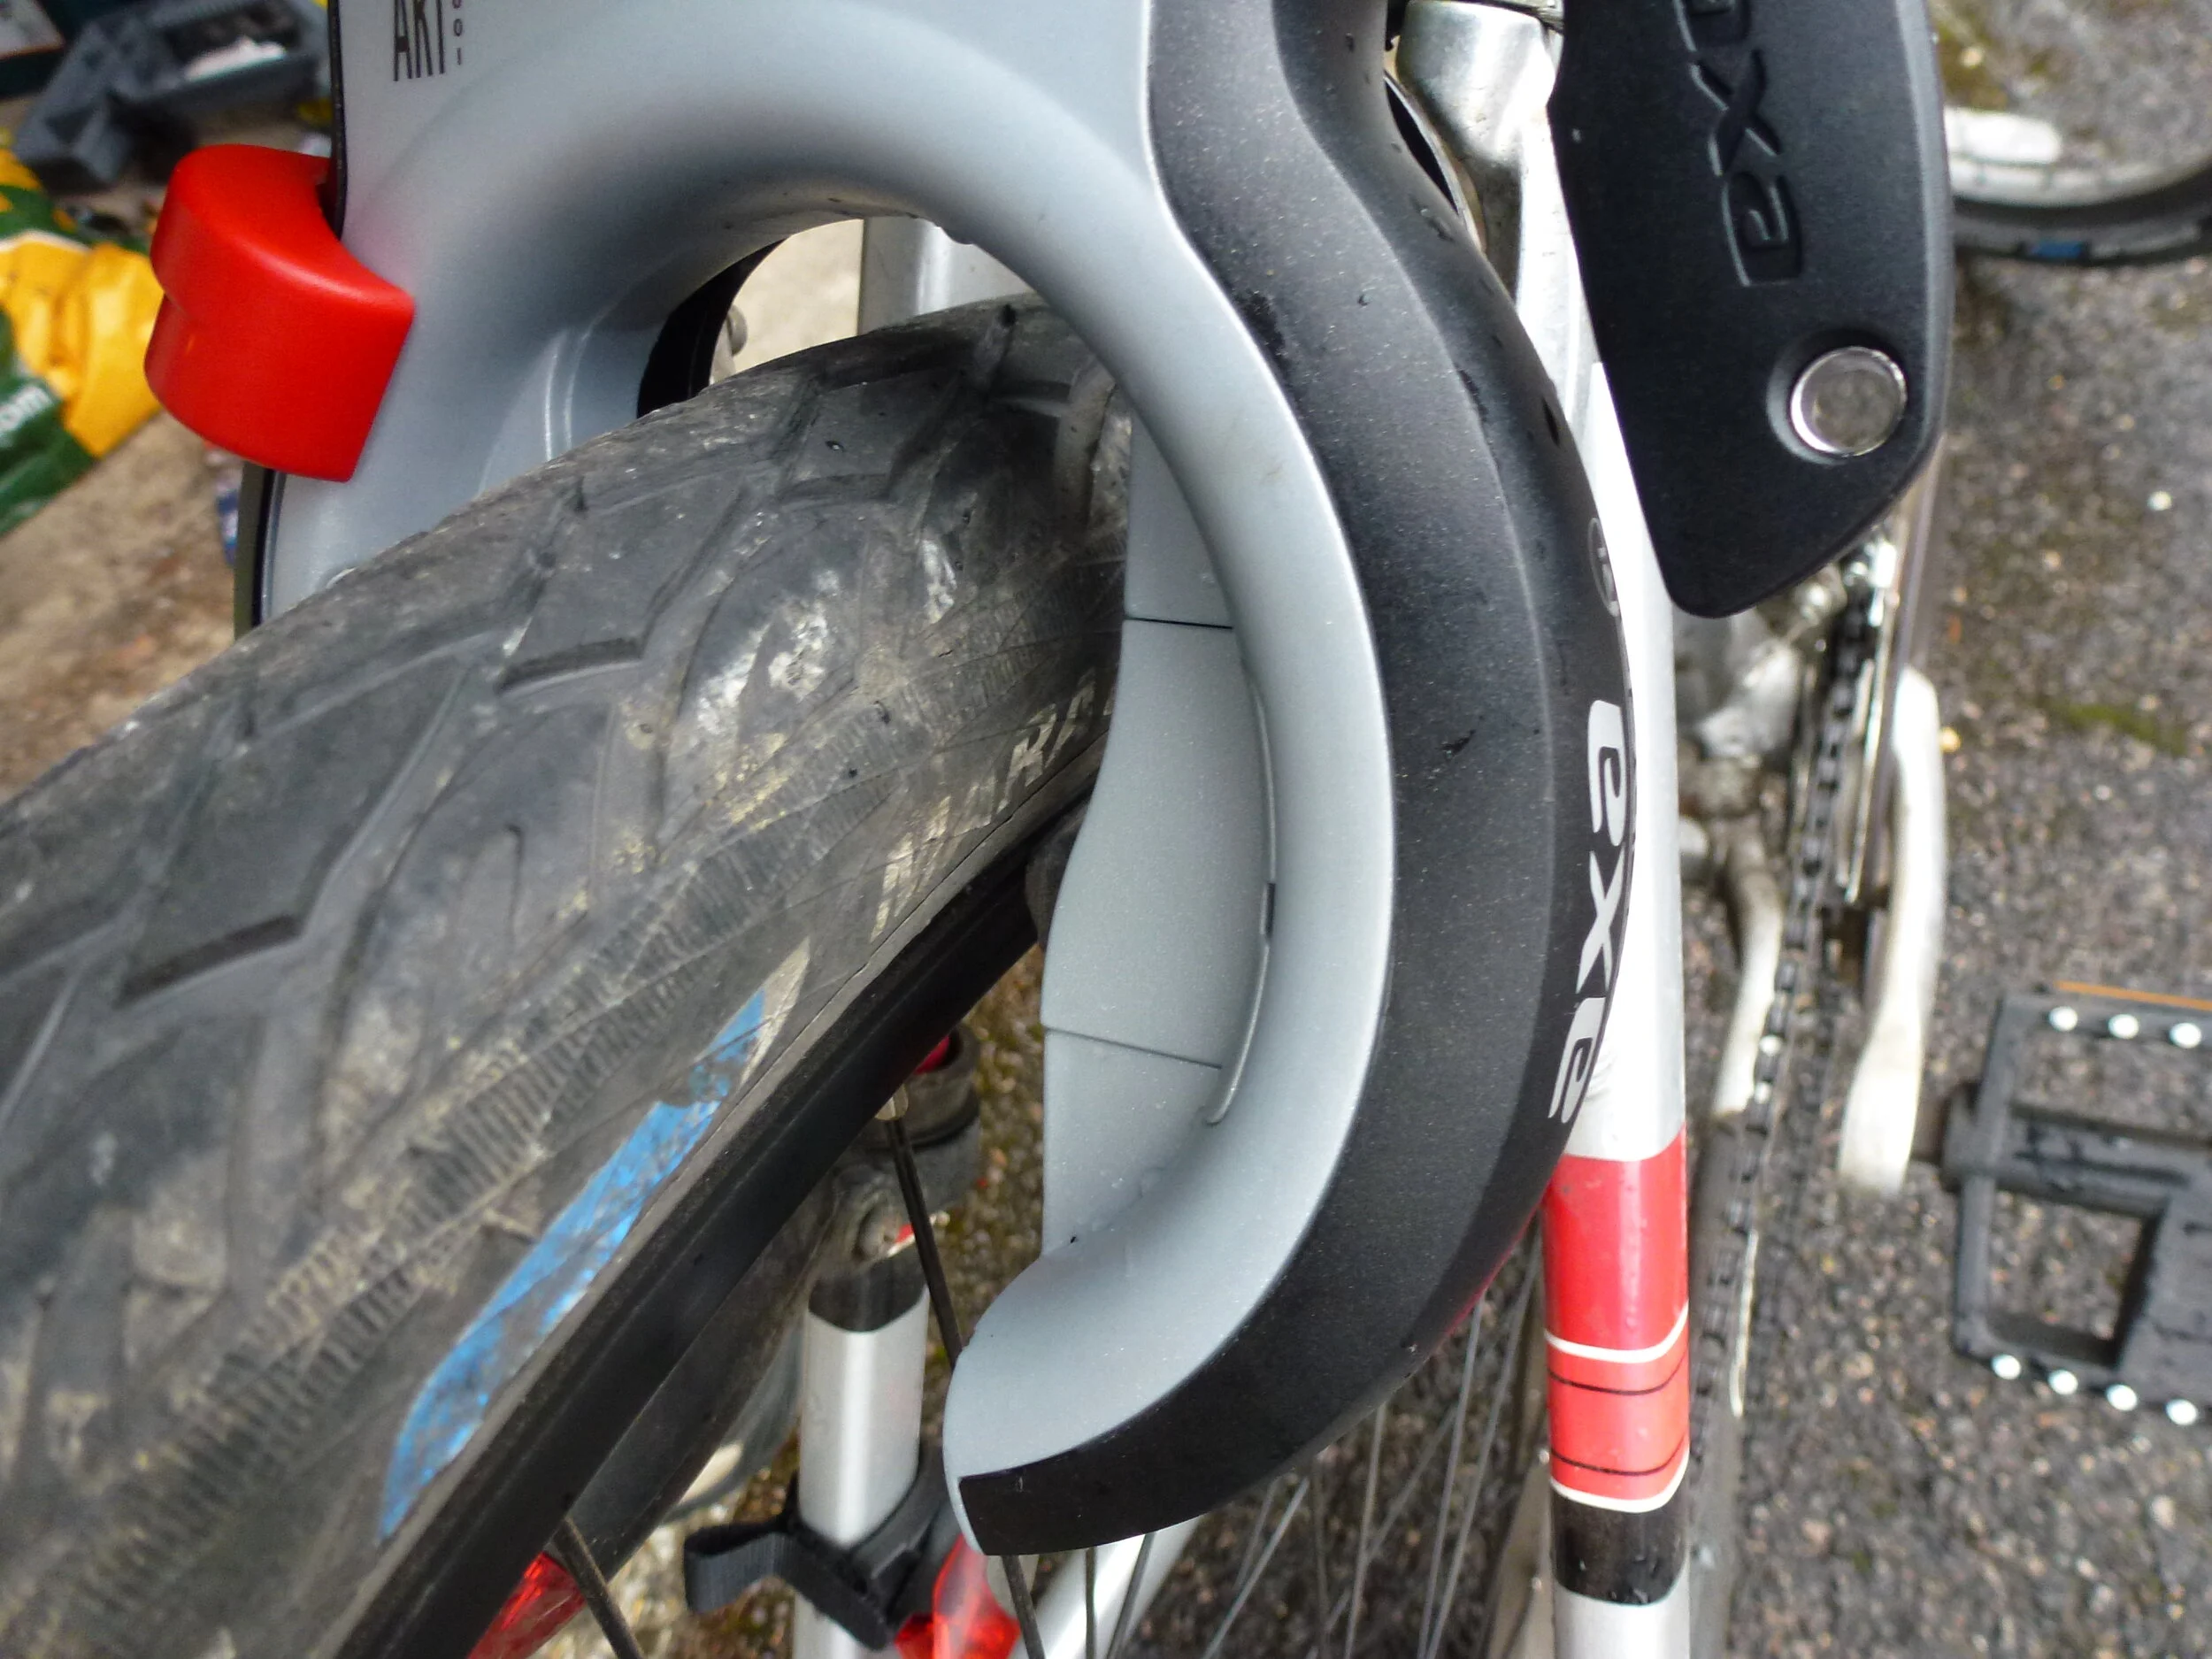
It was now time for the fiddly job of attaching the lock to the bracket.
It was a right royal pain to work around the brakes, but I got the lock on.
I put it on loosely, then adjusted it before evenly tightening to make it secure.

Yes, someone could unbolt this if they had a tool - but they'd get a bike without rear wheel. It is also fiddly and takes a little time, and I will only rely on just this lock for a short stop - for a slightly longer stop I would add the chain, and for an even longer stop I would also use a D-lock.
The risk vs convenience is worth it.
The bolt heads are covered by some clip-on panels and the lock ‘just works’.

The nice thing about this lock is that, if it's open, the key is there - it lives ‘on the bike’ - so I always have the lock with me. It can be engaged in seconds and will allow quick stops without rummaging in the bag for the D-lock.
I also have a plug in chain which slots into the lock and will attach to a fixed object (possibly through the frame as well), this can also be engaged quickly - throw chain around fixed item (not a pole), feed chain through end loop, push into the port on the side of the lock, engage lock.
To engage the lock, it is necessary to slightly turn the key on the key, and then push down the lever to engage the bolt. Only then can the key be removed.
It is a two handed job by design, as this prevents the lock being engaged accidentally (e.g. by a child in a rear seat), and the key cannot fall out when riding along.
When the lock is engaged, if anyone jumps on the bike and tries to ride off, they will find the back wheel does not spin.
Yes, the lock would not stop a determined thief, but the job of the lock is to thwart an opportunist, and that's exactly what I need a lot of the time.
UPDATE: The mounting for these has got significantly easier if the space on your bike permits. You can use something called a ‘flex mount’ - but a mounting plate is still available if you wish to install in the same way that I did.
Links on this page:
AXA Defender (version used in this post)
Flex Mount (for attaching direct to frame)
Mounting Plate (for attaching to V brakes)
Also
AXA Victory (the current ‘top end’)
Locking your bike (at the end of the day, you cannot make a bike theft-proof)
(This post was edited in July 2020 from an original in August 2011. Amazon links are affiliate links - every little helps! AXA did not sponsor this post; however, if they wanted to send me their latest lock for my wife’s bike, I wouldn’t object…!)